• SHOWROOM
  • MCT's AW11 ....... 224rwkw @ 20psi (p.7)
2014/06/01 21:44:29
MCT_MR2
Yeah, i'm really keen to do it, the only thing that has been prolonging it at the moment is as i have the base model Motec ecu, of all the brilliant things it does do, i can't use a digital input to alter the fueling, ignition and boost values, i can only use analogue voltage input, so i have to buy a zeitronics ECA, as i would rather buy a proven and calibrated frequency to voltage converter, over cobbling something up. So the added expense and lack of time to do it has put it off a touch for now. I'm also considering where the limit of the internals are, as if i had spent the extra money when i had rebuilt the motor a few years back, i wouldn't hesitate to wind the boost up to 1.7bar and find out how long the clutch would last, but i think 230ish kw will be the safe limit for the internals, particularily the rods.
2014/06/20 22:34:35
MCT_MR2
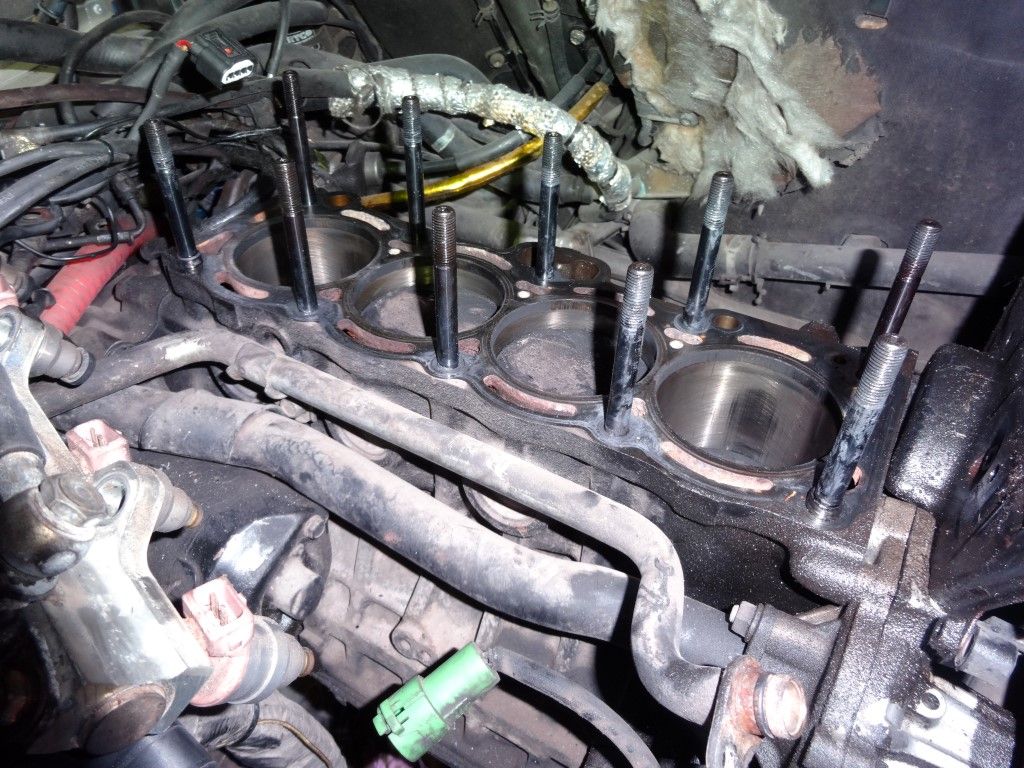
So it seems things want to go wrong in little groups with this car, as not long after my last update i had my timing belt tensioner/idler fail, letting the exhaust cam swing, and clipping exhaust valves on the pitons.
 
Now i say clipped, as it was hard enough to leave witness marks on the valves and the pistons, but if you were too look, you wouldn't know if any of the valves bent. One thing that people often don't consider witht hings like this is that if the valve  did bend, even the tiniest bit, the valve seat and the valve spring will straighten a slight bend out quite quickly, especially if there was enough heat present at the time.
 
This process is known as elastic deformation. Now as it get straightened again, the stem of the valve has been weakened. Add in the fact of running undercut valves, and you have a recipe for dropping the head off a valve.
 
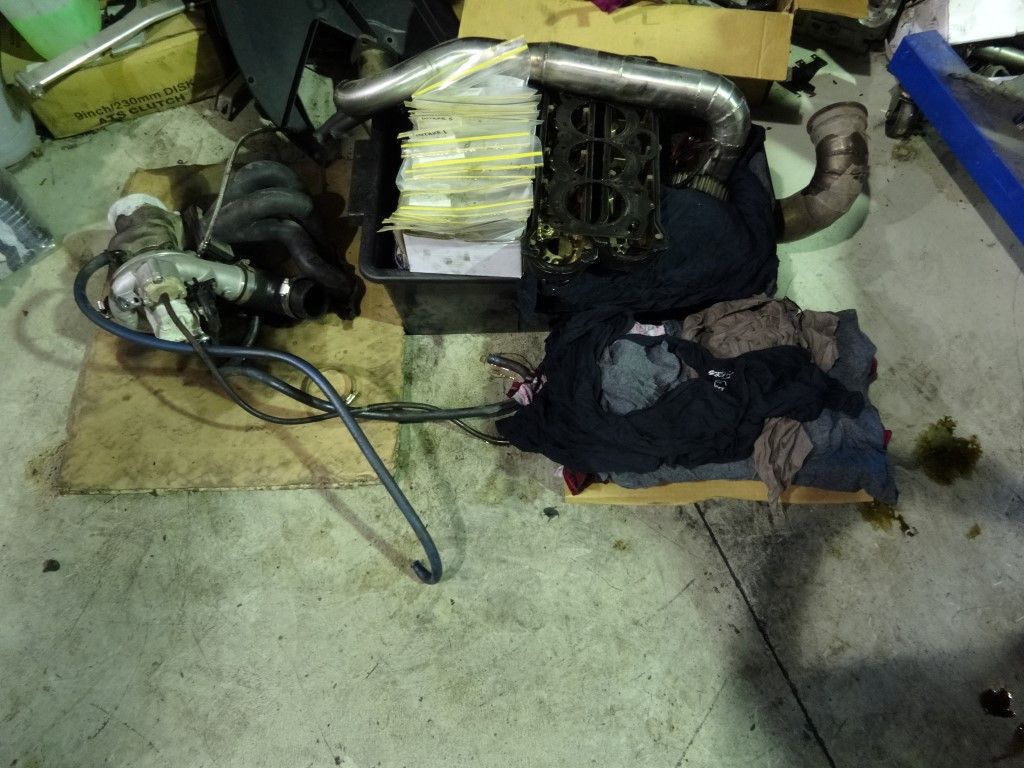
Now, i didn't want to chance that, as i can afford to change the valves, and get a new headgasket and associated parts, but i'm not up for a full engine build, as when that time comes, i want to make the engine bulletproof. So....
 

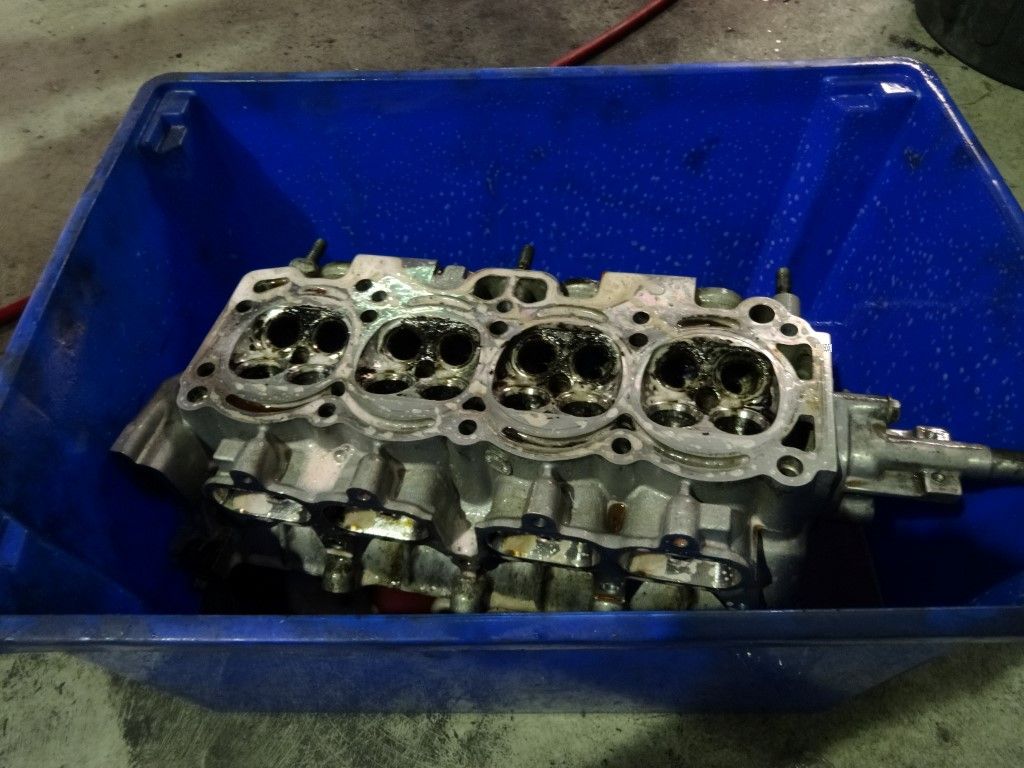
Off with the head. Now, when you do something like this, i strongly recommend you get a texta, a roll of masking tape, and a packet of sandwich bags to label everything, this way life is a lot easier when you get to putting it back together. Like this:


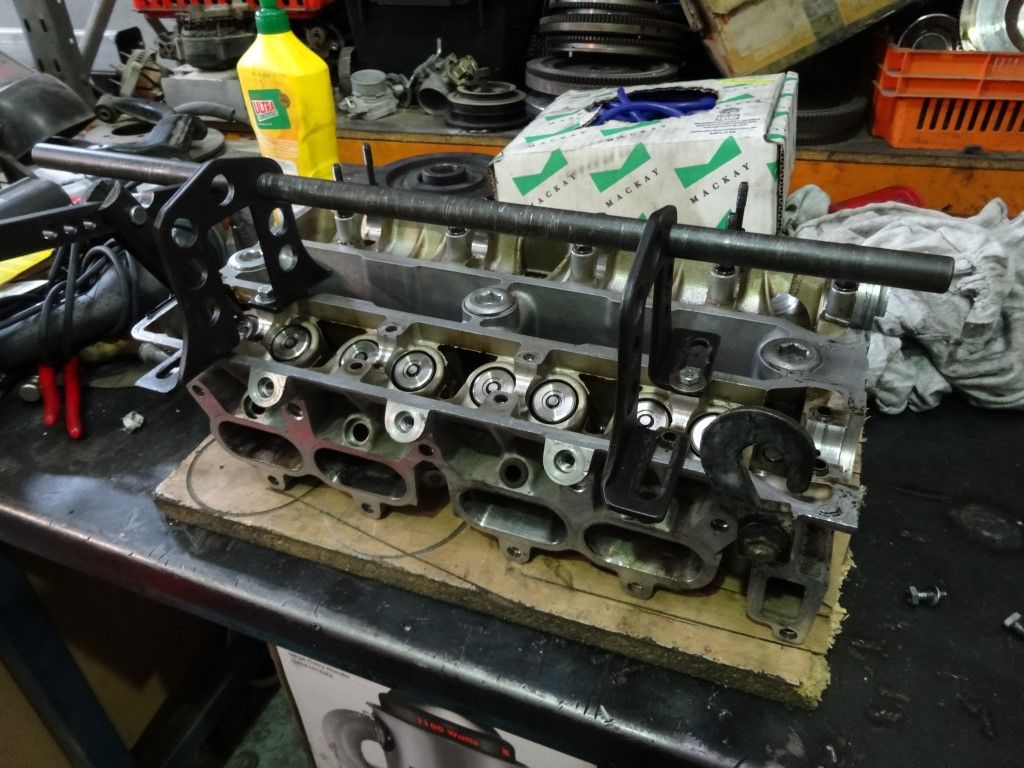
Once the head was off, it was time to strip the valvetrain out of the head. I have the luxury of owning a lot to cylinder head service tools, and with my head having double valve springs, hammer based collet removal tools dont really work, and are a touch dangerous, so i used an on car tool, with the head bolted to the bench, with a sheet of wood between the two to prevent scratching the head.


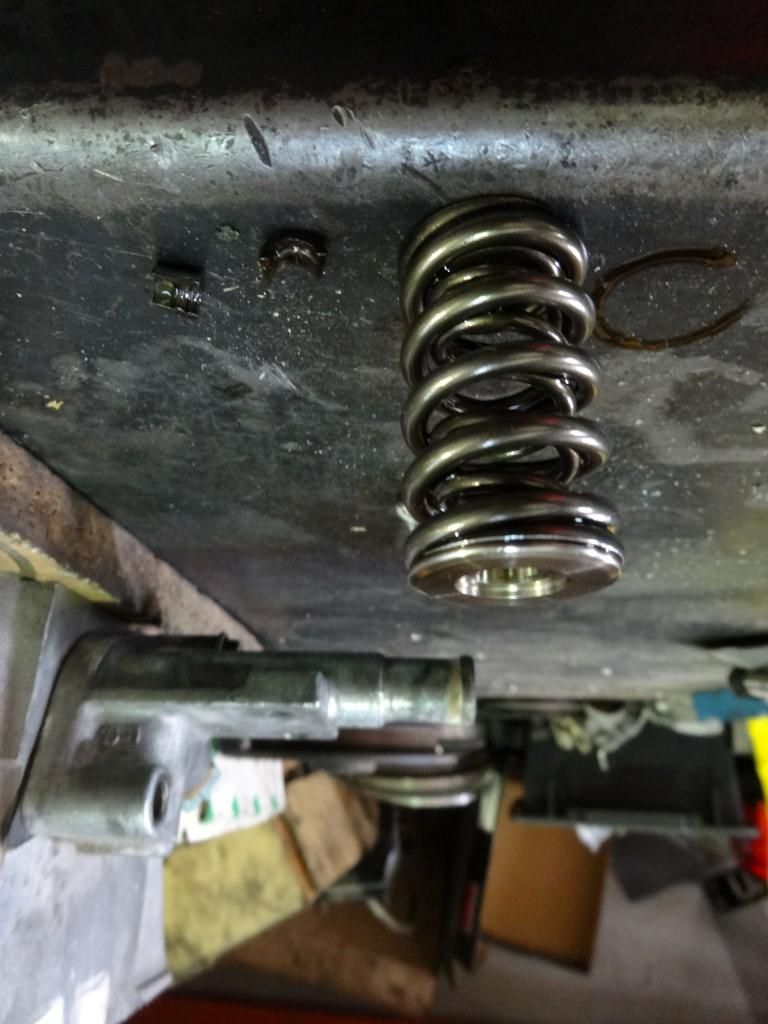
The double valve spring and titainium retainer in all its glory.
 

Now i forgot to take a photo before i started, but as my head was unbelievably gummed up from leaking valve stem seals, reasonably large overlap and a few other things it was in need of a clean. Don't use anything too aggressive. I went and bought a 5 pack of cheap hard toothbrushes from the supermarket for a few dollars, and carefully softened up the crud with acetone and degreaser.
 

Then i sprayed it with undiluted degreaser, allowing it to sit for a bit before filling this tub with hot water. After it sat there for a bit longer, i went at everything with a toothbrush again, before rinsing the head off with a high pressure hose.
 

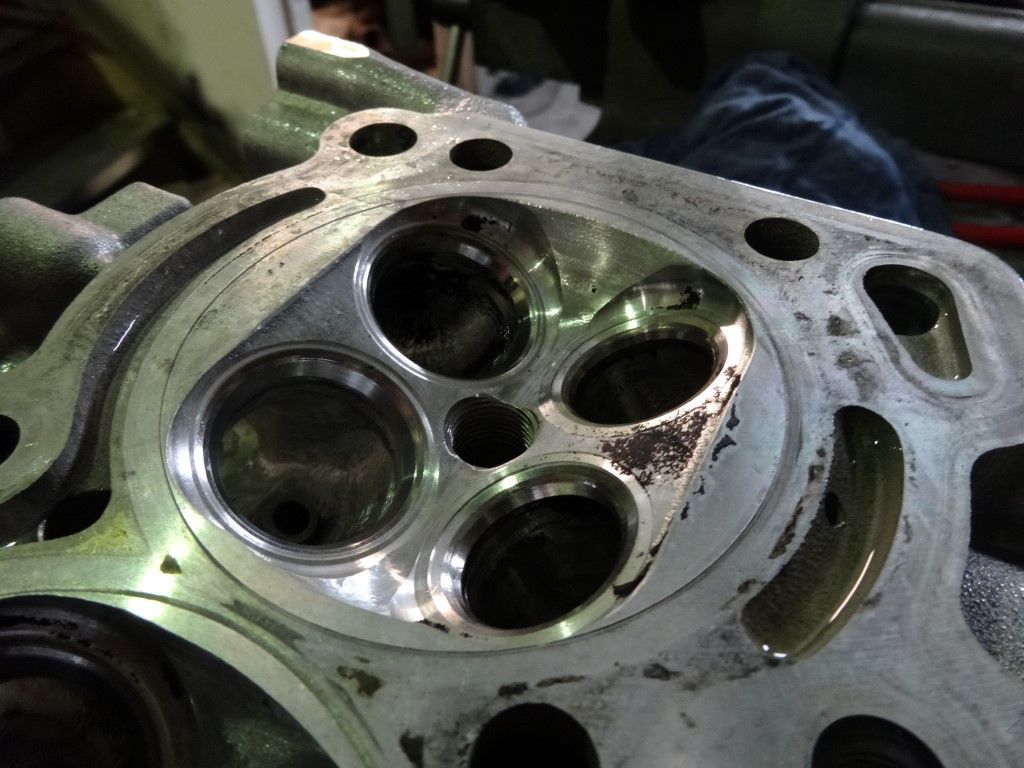
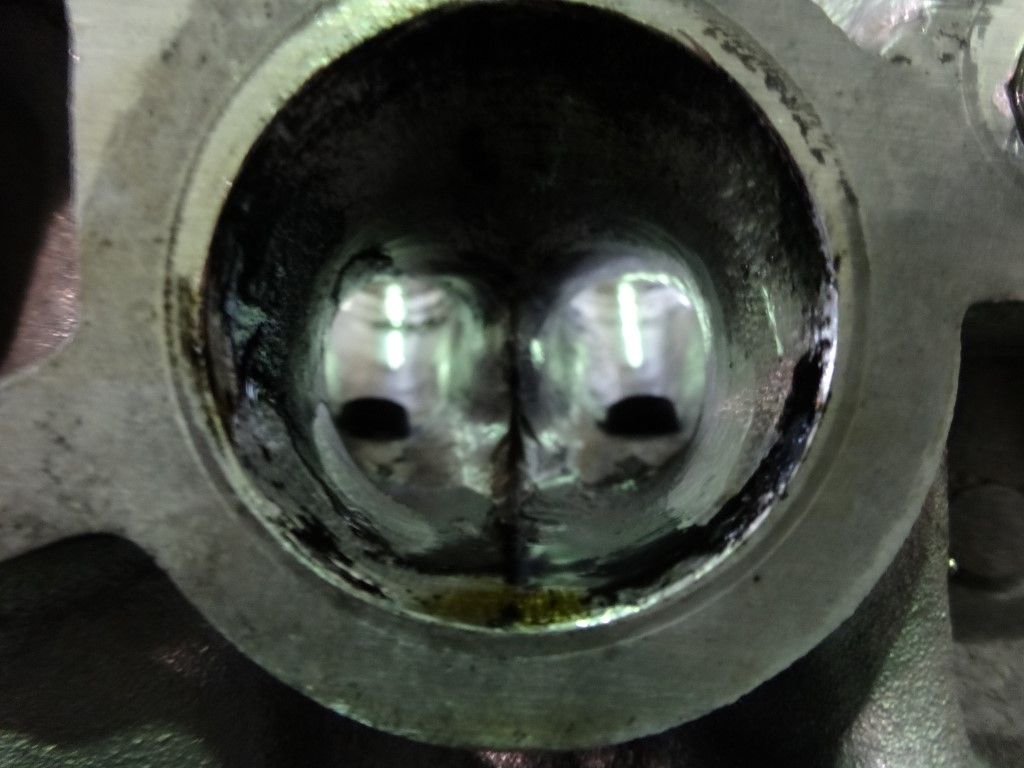
Hey presto, not spotless - but more than good enough. To give you an idea of how much this head has been messed with, note how material has been removed from the combustion chamber between the intake and exhaust ports. This was done following the guidelines of the TRD bible, and the "joggles" as they are referred to are removed for high rpm benefits.
 

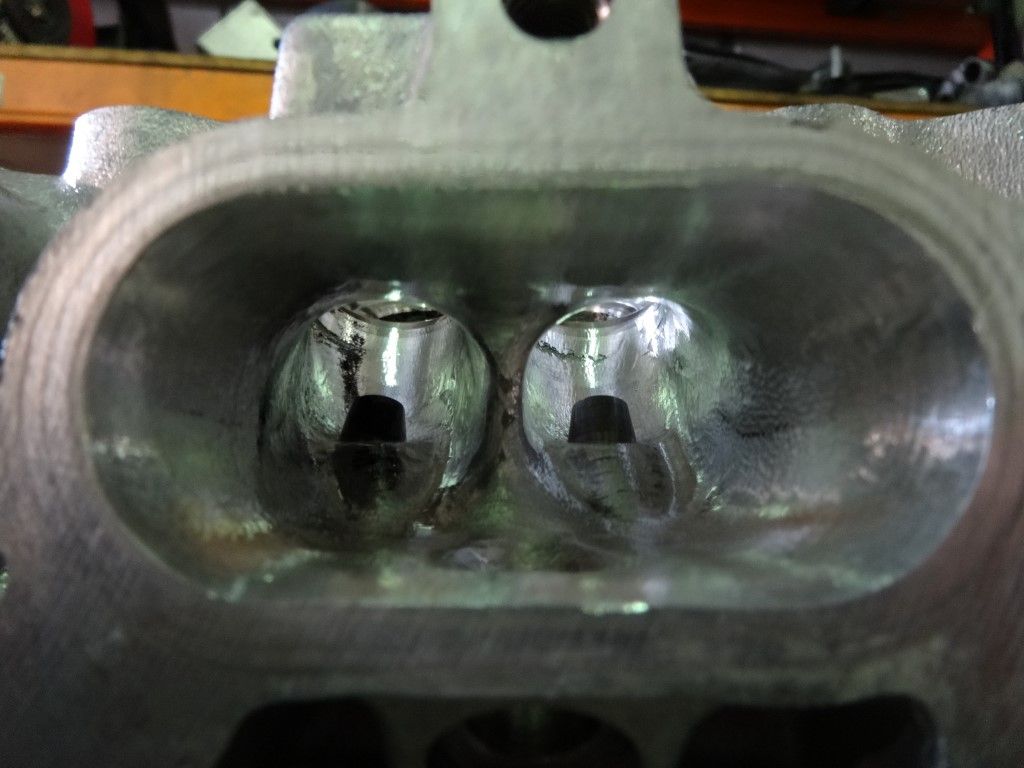
The intake ports are opened up quite a lot, particularily in a bowl, they are the size of the gasket and don't taper down.
 

Anyone who has looked in the intake side of a stock bigport head can appreciate how much material has been removed. To be honest probably a bit too much.
 

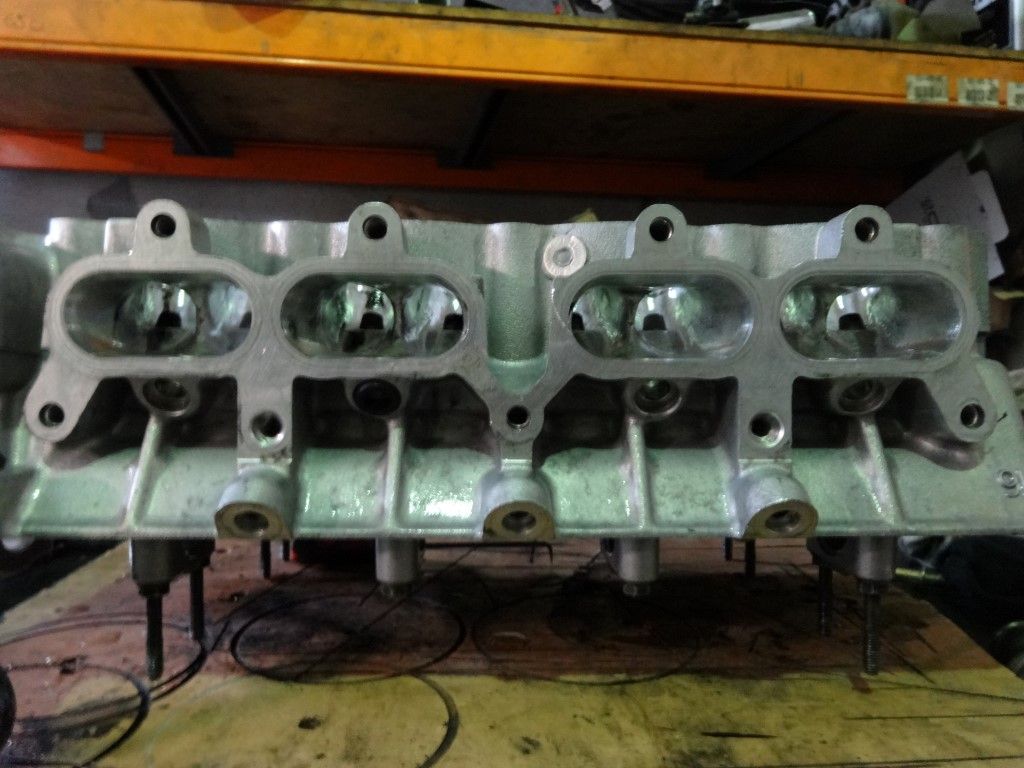
Sorry about the horrible shot, but you get an idea of the exhaust side as well.
 

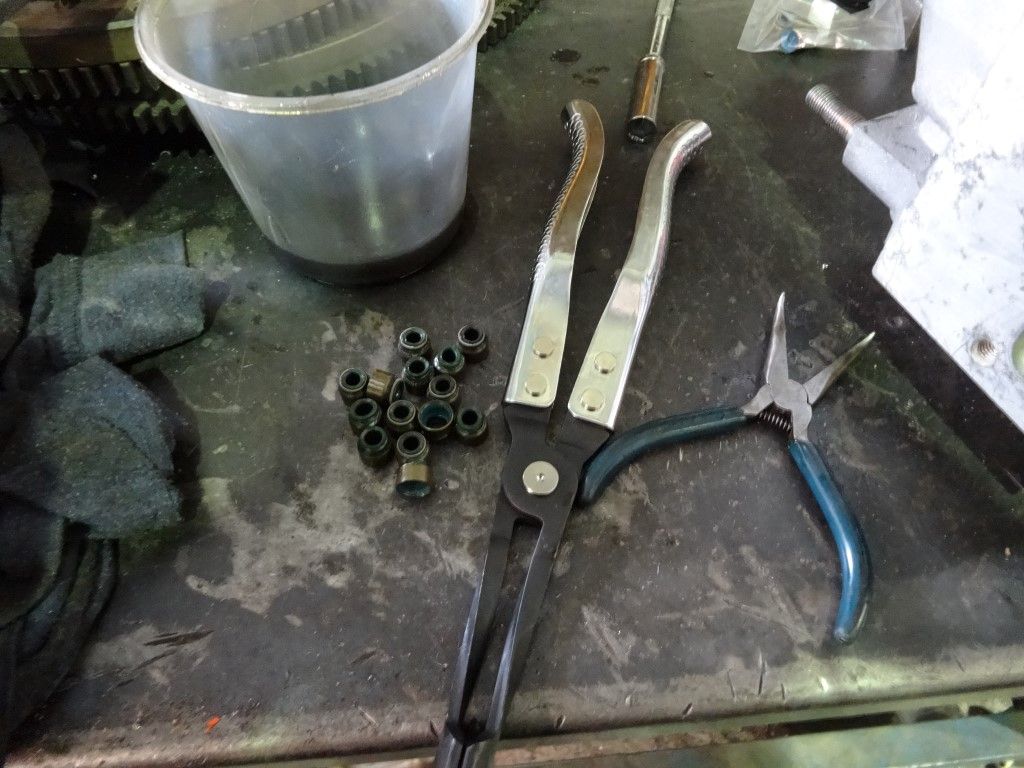
Next up was the removal of the valve stem seals. I cannot recommend enough how much you should buy a set of valve stem seal pliers for doing these heads, as if you try with normal pliers etc, you risk scoring where the bucket sits, which is not good.
 
2014/06/20 22:51:00
MCT_MR2

Another **** photo, but they seals are a long way down in there, worse on this head as the valve stems are shortened to allow for big lift (bigger than my cams), although my guides are machined down with smaller diameter valve stem seals to allow clearance from the valve springs. The new seals are oiled up, and tapped into place with a 1/4 inch deep socket.
 

Time to fit the replacement exhaust valves. The old supertech exhaust valves are 3 years old now, and have seen all the abuse i could throw at them.
 

As i don't have radiused valves and seats, or complex multi angle valve seats, i can get away with lapping in the valves, much like a stock engine. You smear a light coat of the paste around the edge of the valve, lubricate the stem with oil, fit the valve, and use the suction up to spin the valve against the seat to wear a contact ring onto the valve and the seat. Then the valve is removed, everything cleaned, refitted and onto the next valve. You have to make sure you thoroughly clean up each on, as it is an abrasive cutting compound, not something you want to leave in your engine.
 

All lapped in and ready to be re assembled. Thats as far as i got for now, i will be doing more over the weekend. I'm also taking advantage of the space and having the car off the road for a few days to clean up a few things, like some of the wiring, relocating the oil filter and oil cooler, i don't like the current placement, and some more heat management things.
 

I have my new head gasket ready to go.
 

I've also begun relocating my oil filter, i removed the sump, cleaned it up and changed the oil drain fitting, gave it a quick coat of paint and refitted it.
 
I will hopefully get some more done at some point on the weekend, i should get the head and manifolds on, hopefully finish tidying the wiring and do some heat management stuff. I also have to measure up my shims and keep my fingers crossed there are no adjustments needed.


2014/06/21 20:12:09
5SGTE
Thanks for the effort in the write up, always enjoyable reading through them, even though its painful for you to have to go through repairs for something like a tensioner failure.
2014/06/22 21:11:49
WIDEMR
Nice work Nathan, and, although brief, it was nice to catch up with you today, hope to see you around.
 
PS. I had a mind blank thinking of that manufacturer, the linkage was to suit a Penny & Giles TPS!
2014/06/22 22:33:24
MCT_MR2
No worries Brendan, pleasure to meet you and to see how far the car has come since I saw it last at fabs.
Glad I could put you in contact with someone to help out with your motec setup, and if there is anything I help you with, or put you in contact with to help, just shoot me a pm.
2014/06/22 22:54:45
MCT_MR2
Oh, I just looked up the penny and giles sensors you were talking about, ive come across some of their tps sensors on uk based itb setups - one on a judd rover motor and one on a honda, both had throttles mounted straight to the intake ports, I remember them being really stead and consistant.
2014/06/22 23:11:47
WIDEMR
Yeah should be ok, realy nice sensor, contactless and as said can be customized for the measuring angle and each of the 2 output direction. 
Some of the V8SC's run them (a different model and single output, but same contactless) and tonne of other racecars.
I was happy that tilton do a easy simple bolt on designed for a good sensor.
2014/06/22 23:17:44
MCT_MR2
The other way I have seen it done by some of the other super taxi teams and on the tilton evo is to use linear shock pots mounted either side of the pedal, but it takes up a bit more space to do it, and would take a lot more careful thought to do.
2014/06/28 21:09:44
MCT_MR2
Don't have much time at the moment, spent another 18 hours on the car since my last update, and finally have the car running. I will post an update soon when i have a chance to, but for now i thought id post a quick video of the car up and running, seeing as i think kameleon is the only person that has seen the car running in the last few years.


It's a video, click on the picture to get to the video.
<< ..78.. >> - Powered by APG vNext Trial
© 2025 APG vNext Trial Version 5.5

Use My Existing Forum Account

Use My Social Media Account