2015/07/31 20:44:23
tiff_lee
This may be of interest to some on here, my DIY projector retrofit.
 
As i'm sure some of you are aware the standard headlight output from an MR2 is pretty pants, of course you can buy expensive philips bulbs, osram nightbreakers etc but nothing compares to the light output from a 'Projector' headlight and i'm not talking about the cheap stuff you find on ebay.
Unfortunately there is no off the shelf retrofit projector headlight for the MR2 although due to the fact the same style of light is used in many other vehicles (search H6054, 7x6) many other people have already done retrofits making it that little bit easier.
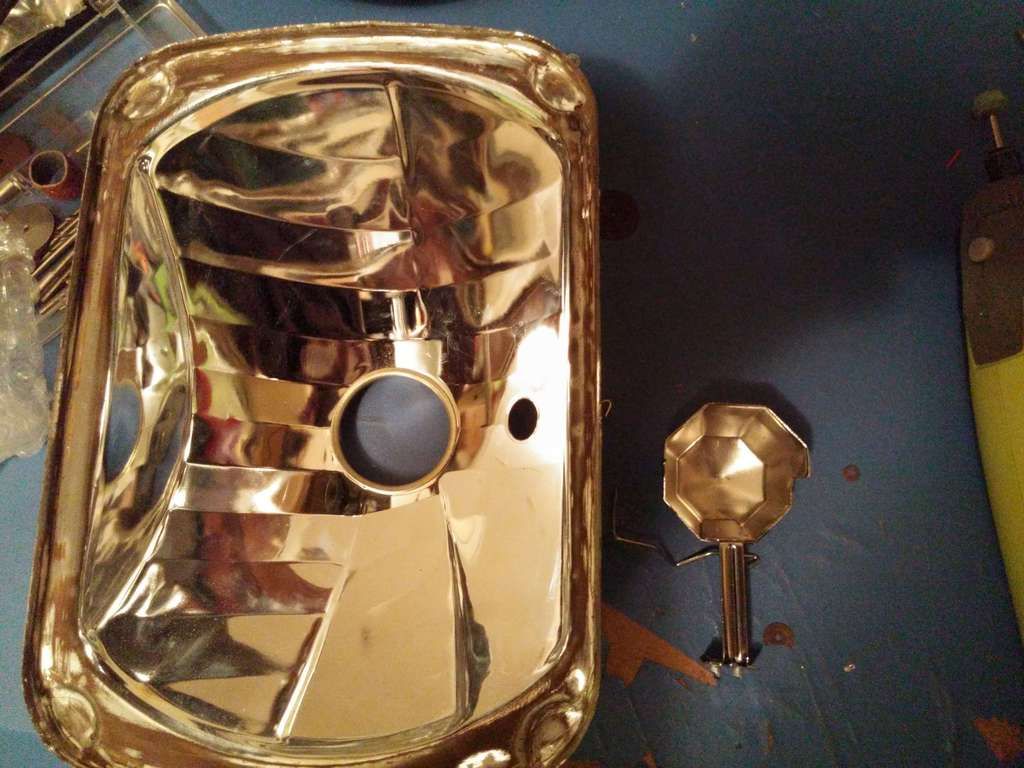
Anyway on with the show... First up some donor headlights, unfortunately these ones had markings on the glass which I didn't realise when I ordered at the time however it has minimal impact on the light output (i've tested)

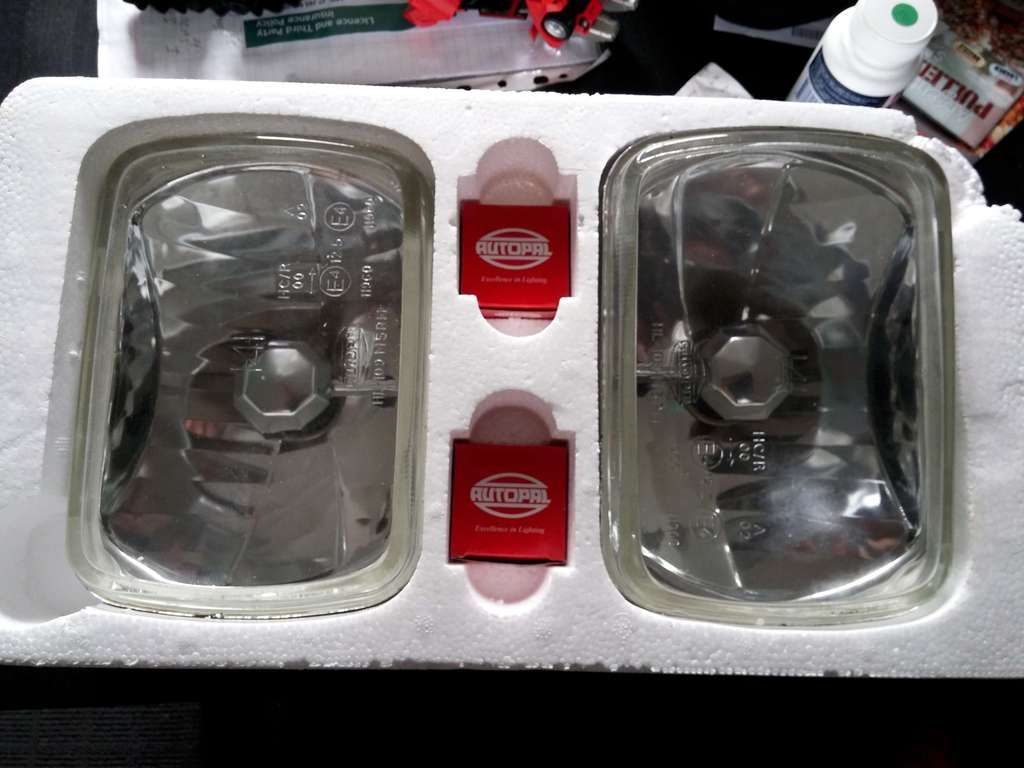
When buying donor lights some are all plastic with polycarb lens or in my case metal and glass just depends what is easier for you to get hold off.
The parts came from Vikom here in Australia who appear to be a reseller or in some way connected with the retrofit source in the US.
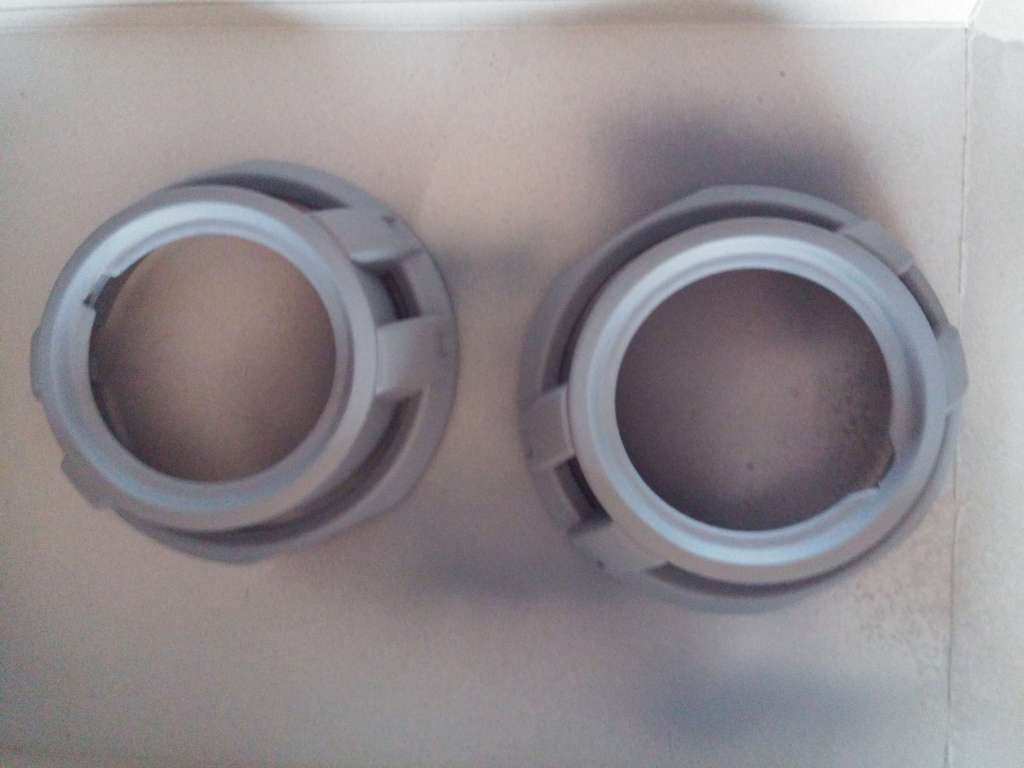
Parts ordered were the Morimoto mini D2S with associated bulbs and H4 wiring loom, also ordered Apollo 2 shrouds. The shrouds serve no real purpose other than cover up the projector assembly or in my case I will also be mounting LED rings behind and at the front.

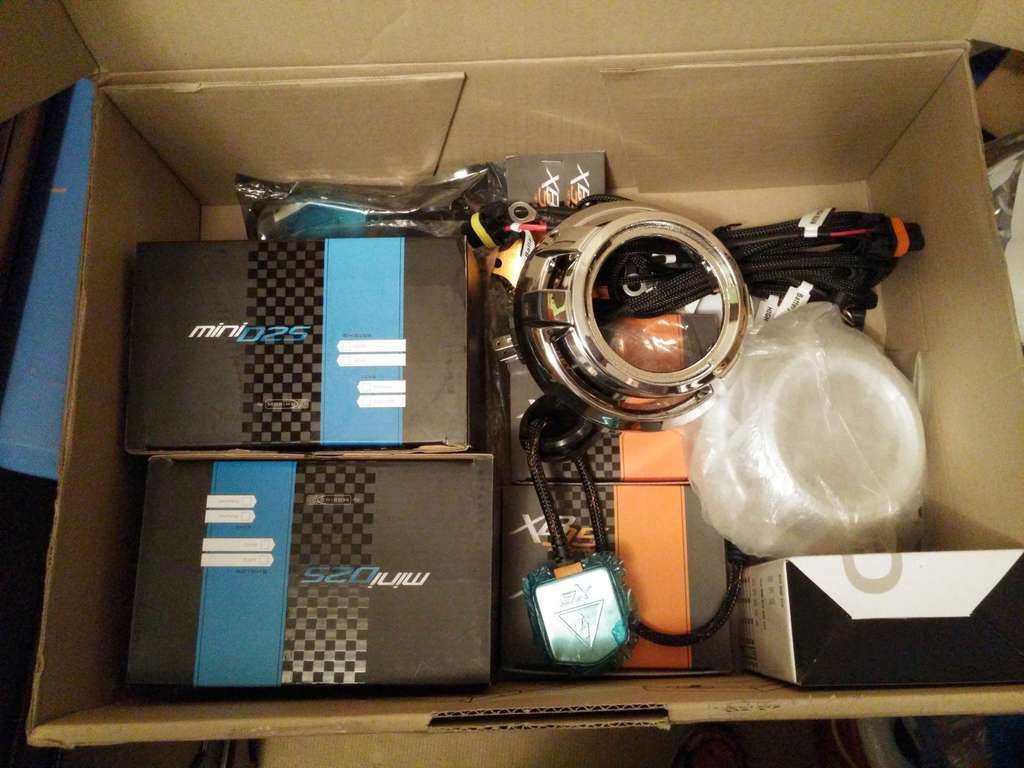
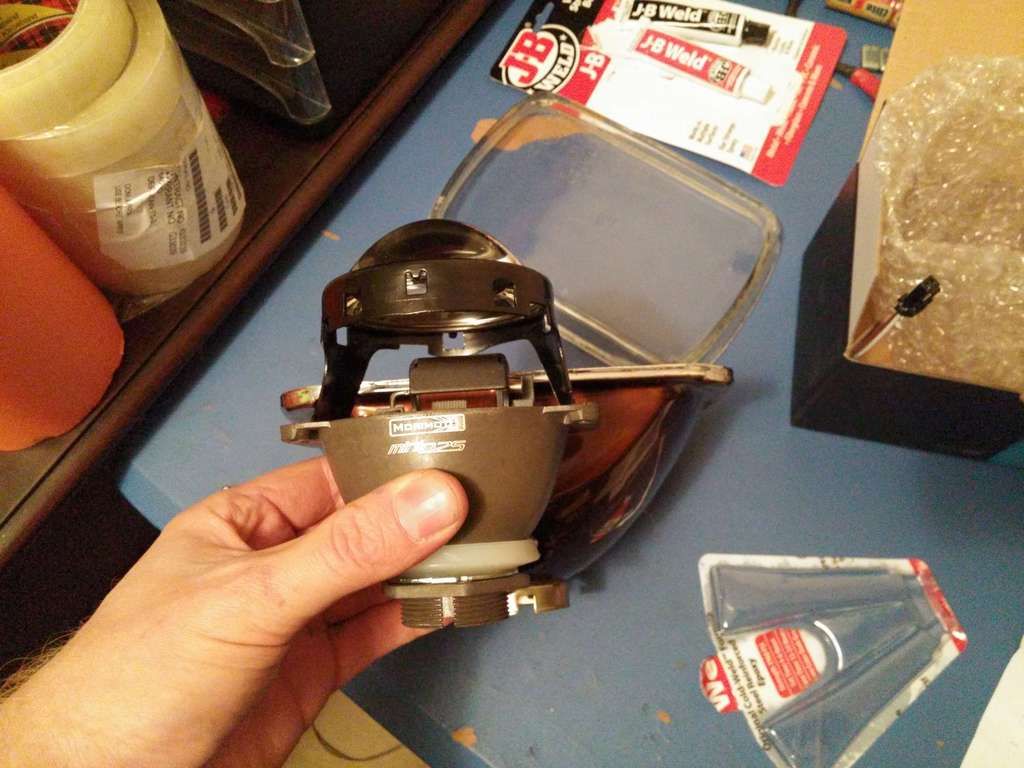
The mini D2S is actually designed to be a 'plug and play' projector for H4 headlights, it's designed to slot straight into the H4 bulb socket, so providing your headlight is deep enough that is all you would need to do and you're done! unfortunately this is most certainly not the case here.

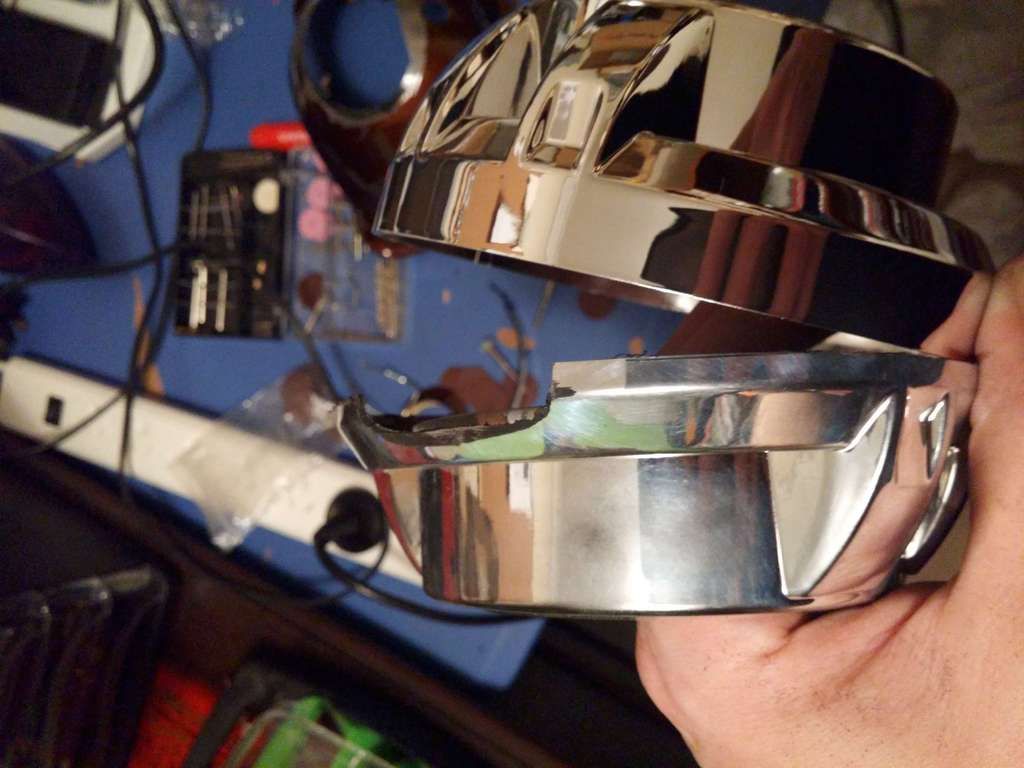
Oven baked headlights and voilà

Old computer desk serving as test rig, marked the walls to see where the unmodified headlight would shine so I knew where about's to fix the projector in place

Time to start cutting up the headlight......


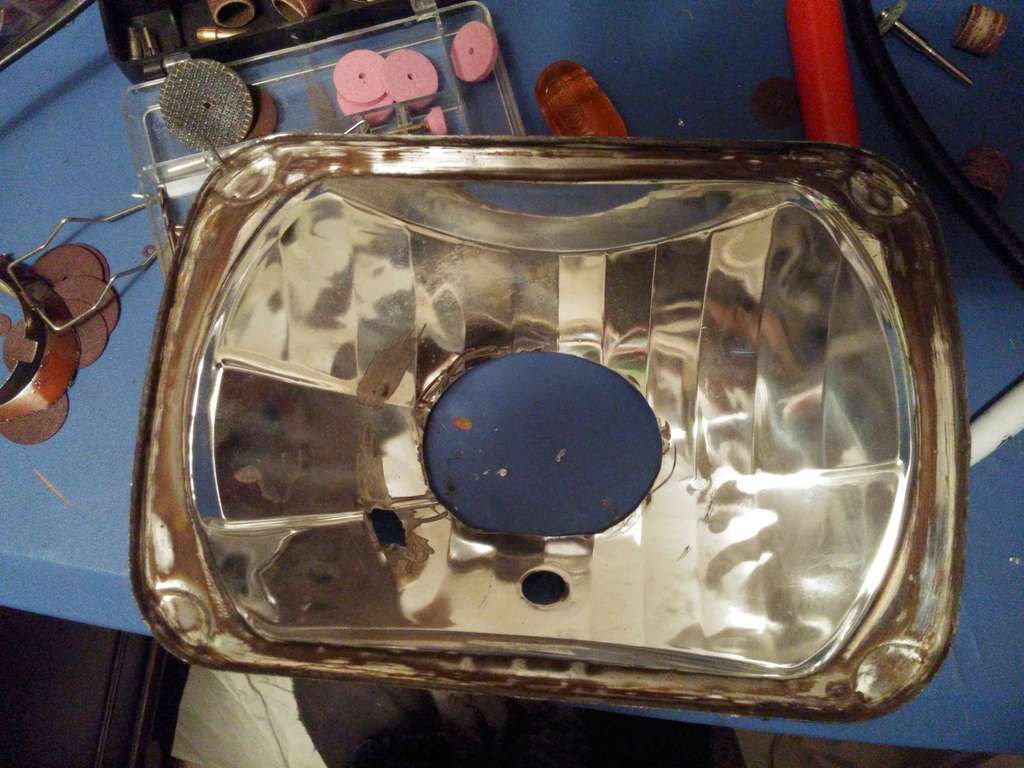
Still not enough....


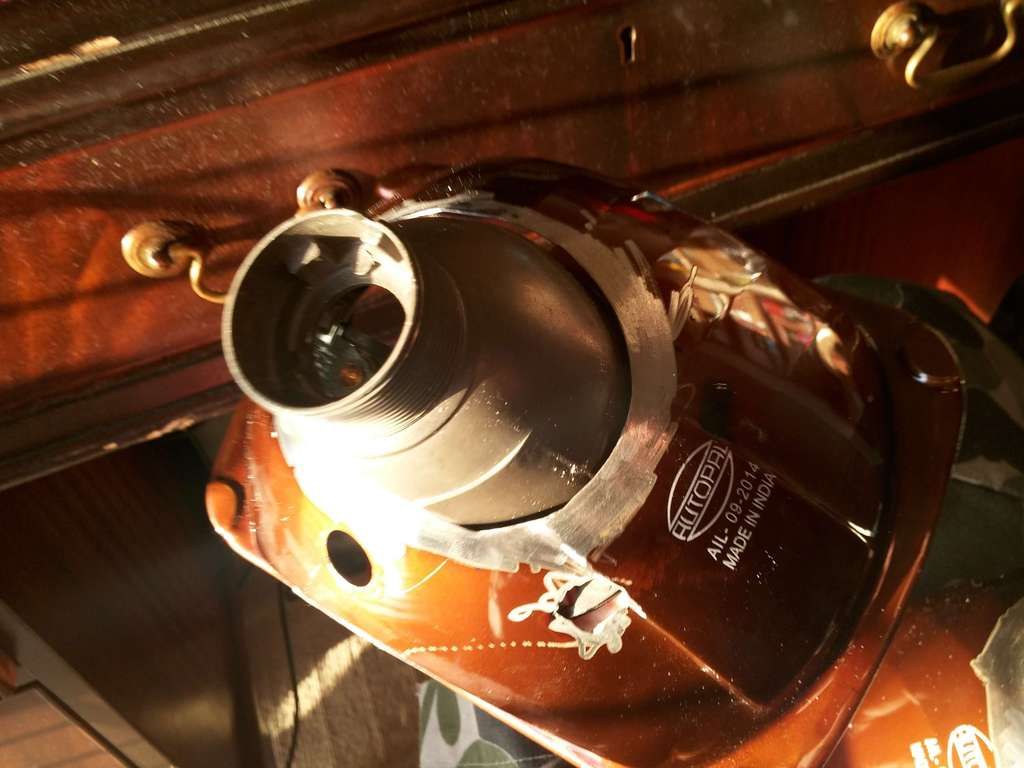
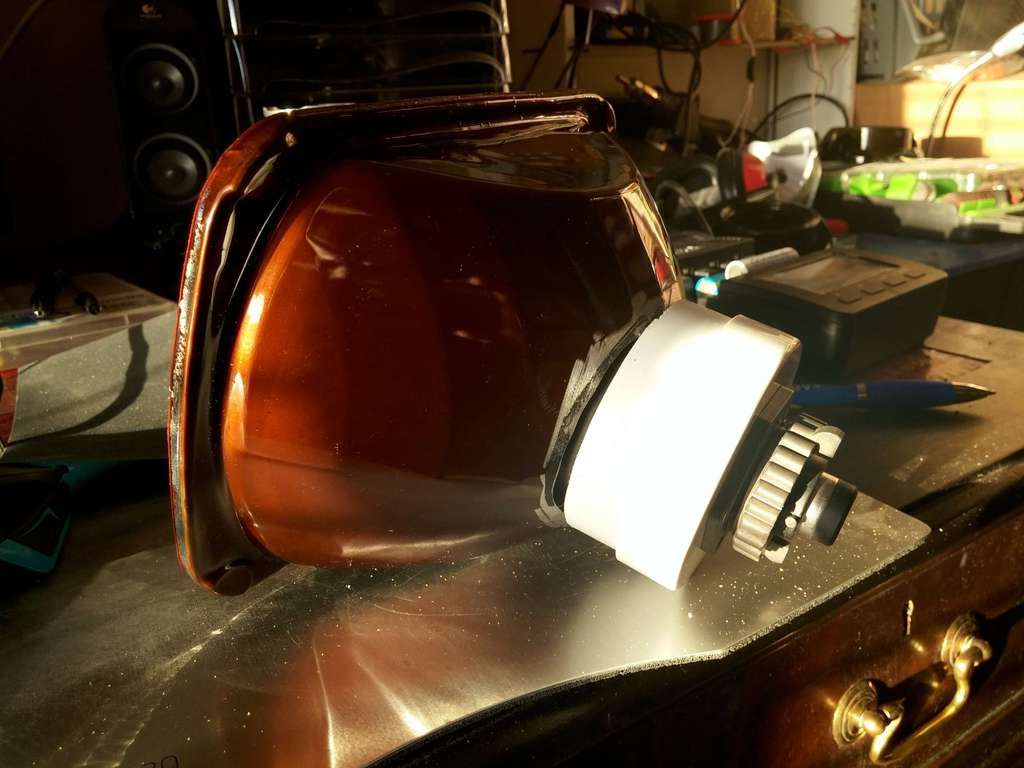
As I now had a massive hole in the rear of the headlight I needed to secure it in place for alignment and long enough for the epoxy to set, in order to do this I decided to use some PVC pipe and the original H4 locking nut like so

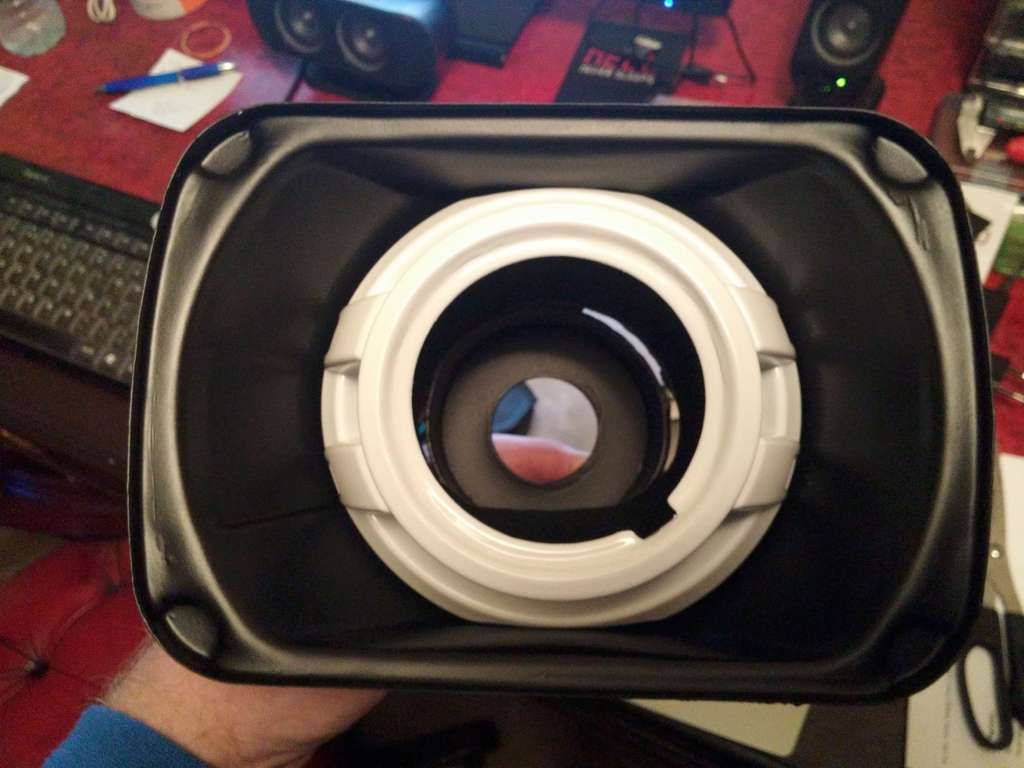
The shrouds needed significant modding in order to fit before and after

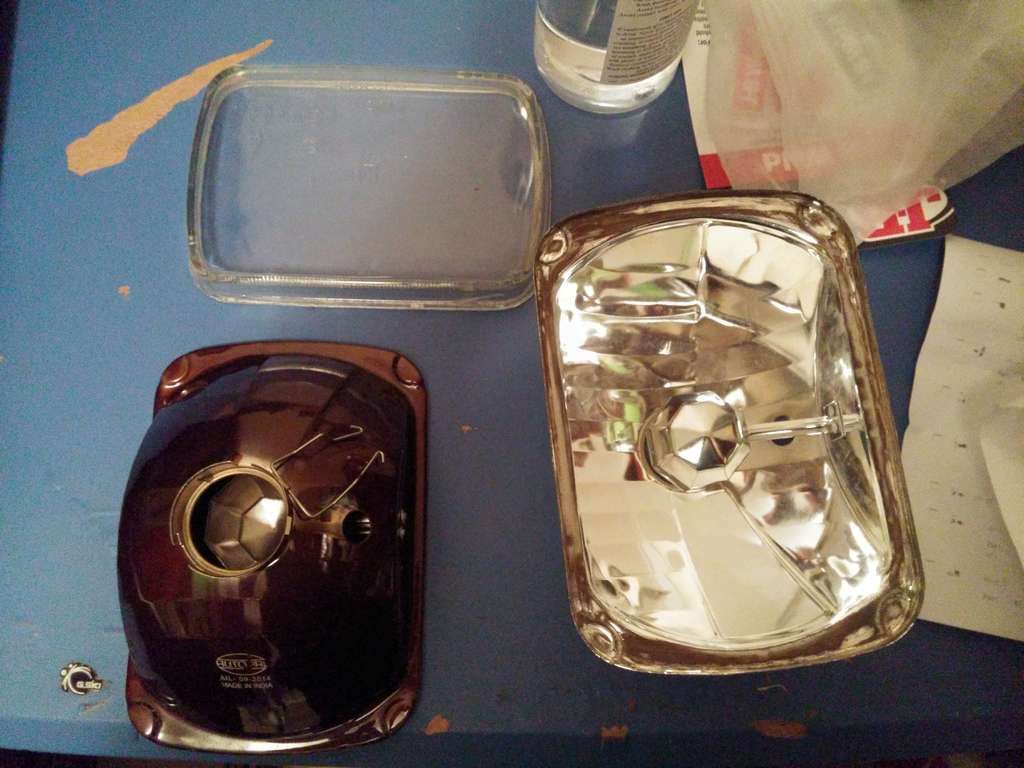
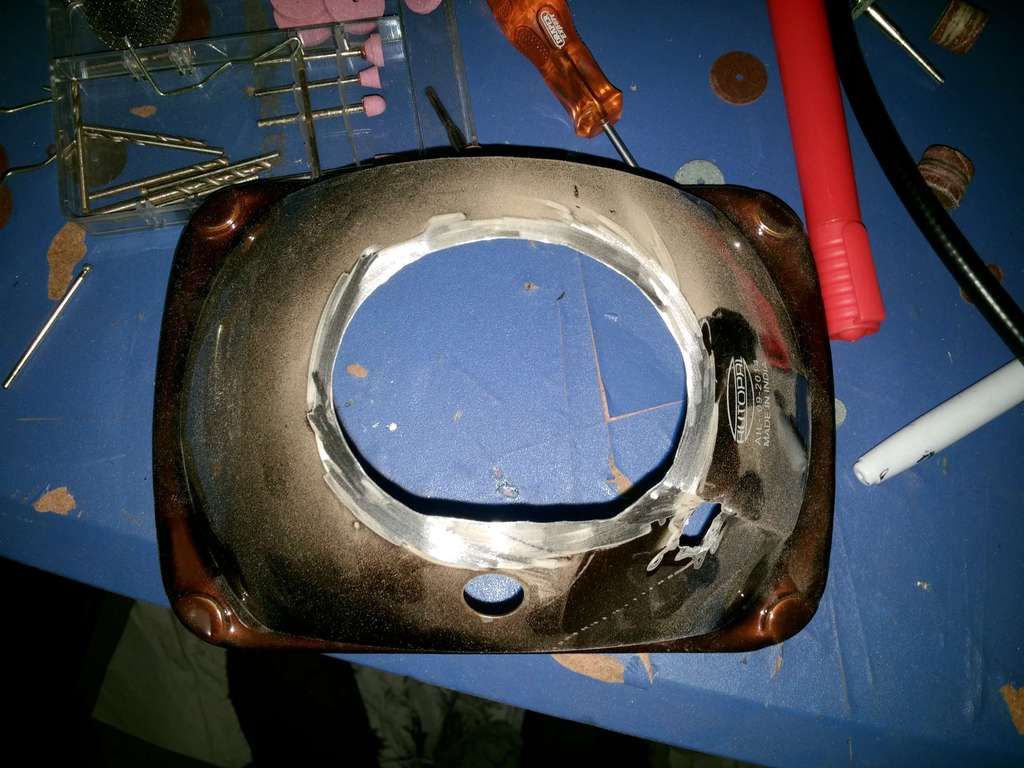
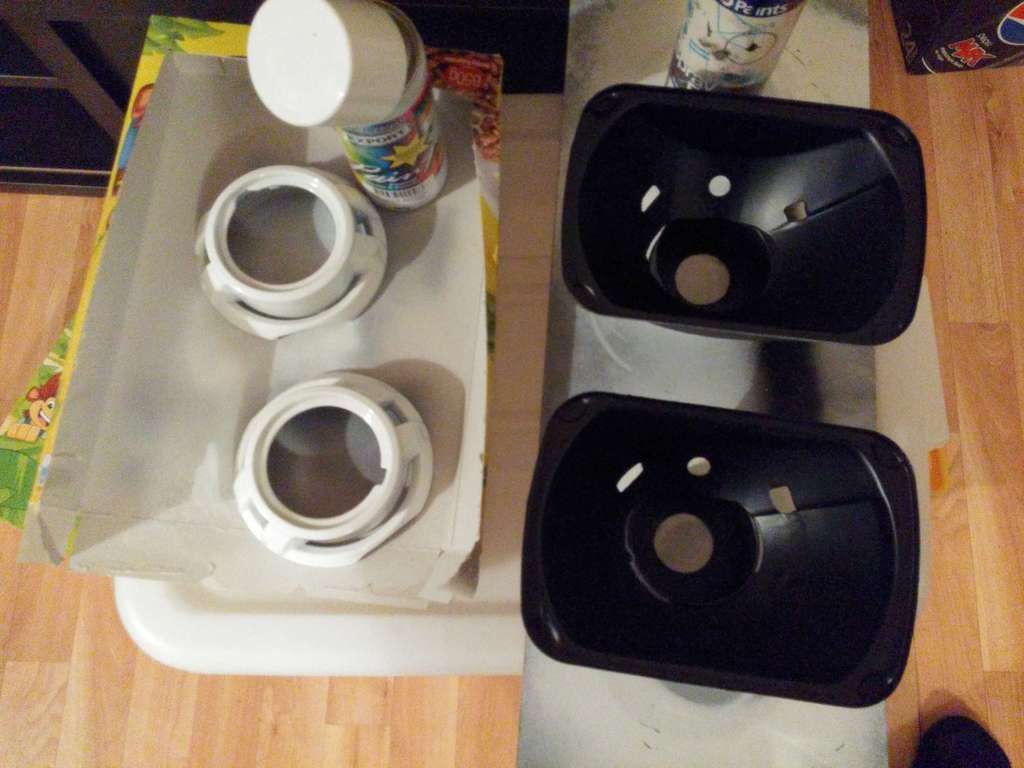
Once I was happy with projector alignment I removed them again to allow me to paint the headlight reflector bowl.
Cutouts on the shrouds is to allow for the LED ring wiring

The exposed parts around the pvc tube would be filled with epoxy after painting and projector installation as the exposed parts of the projector would them also be bonded in place

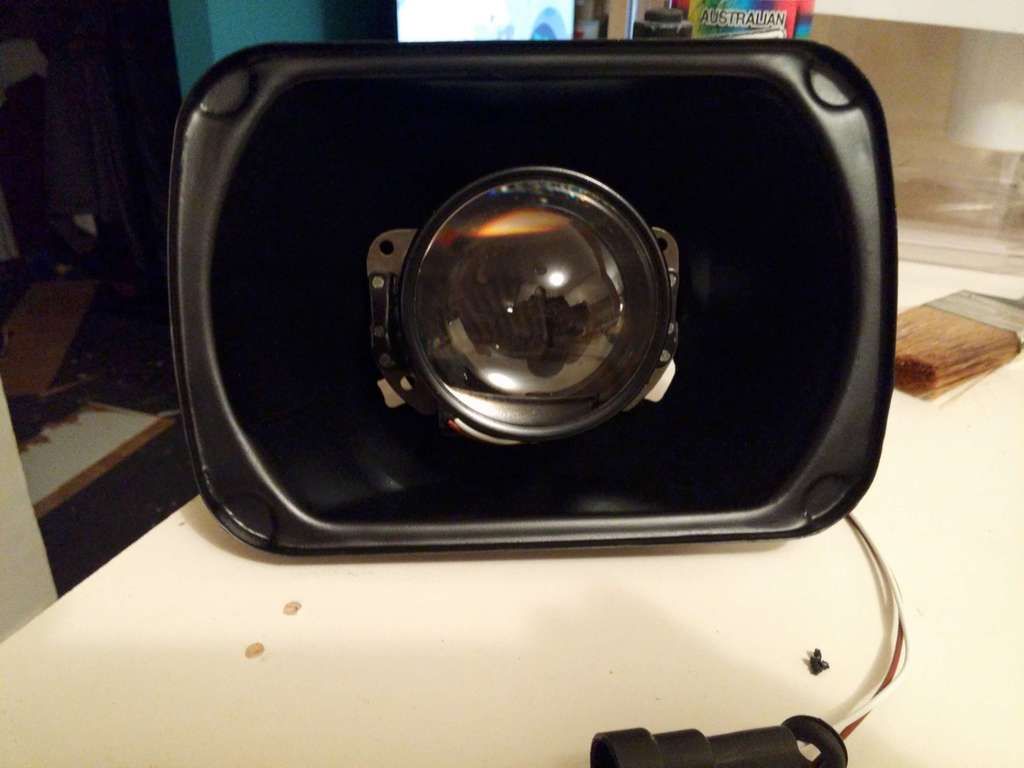
All painted, not sure how good it will look when all assembled but most definitely won't be worse than standard

Test fit

Projector final installation

This is as far as i've got, still waiting on my rear LED ring before I can fit the shroud and seal the headlight.
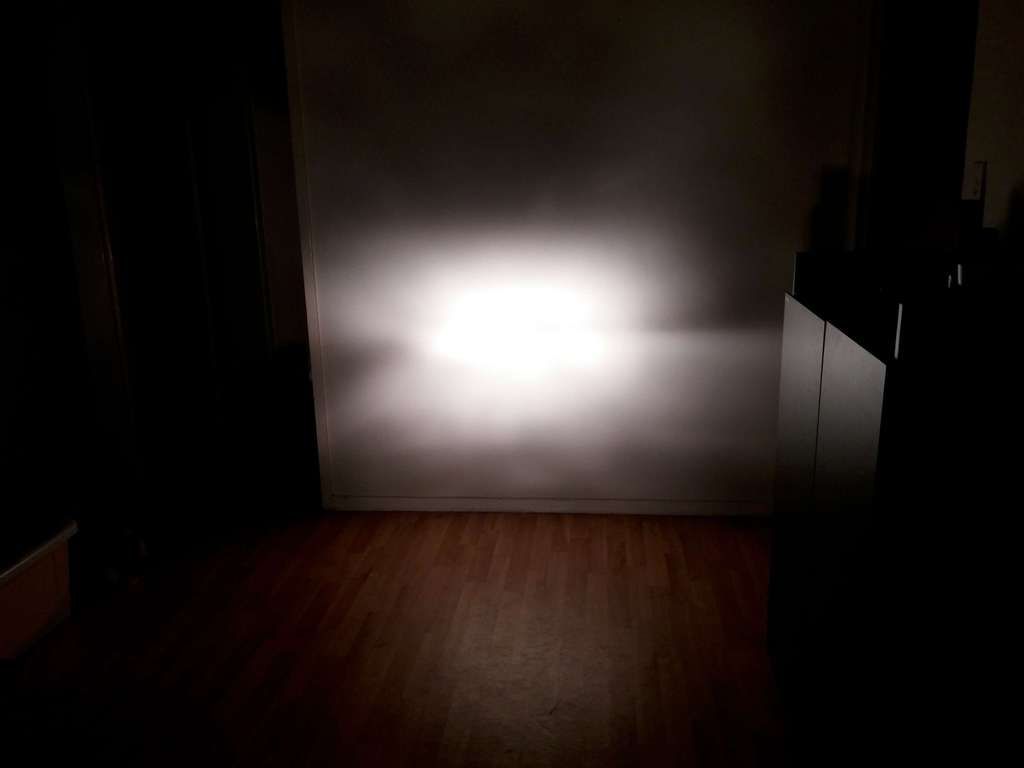
Before someone asks "why bother" this is why
Halogen (full beam actually no low beam shot)

Projector low beam

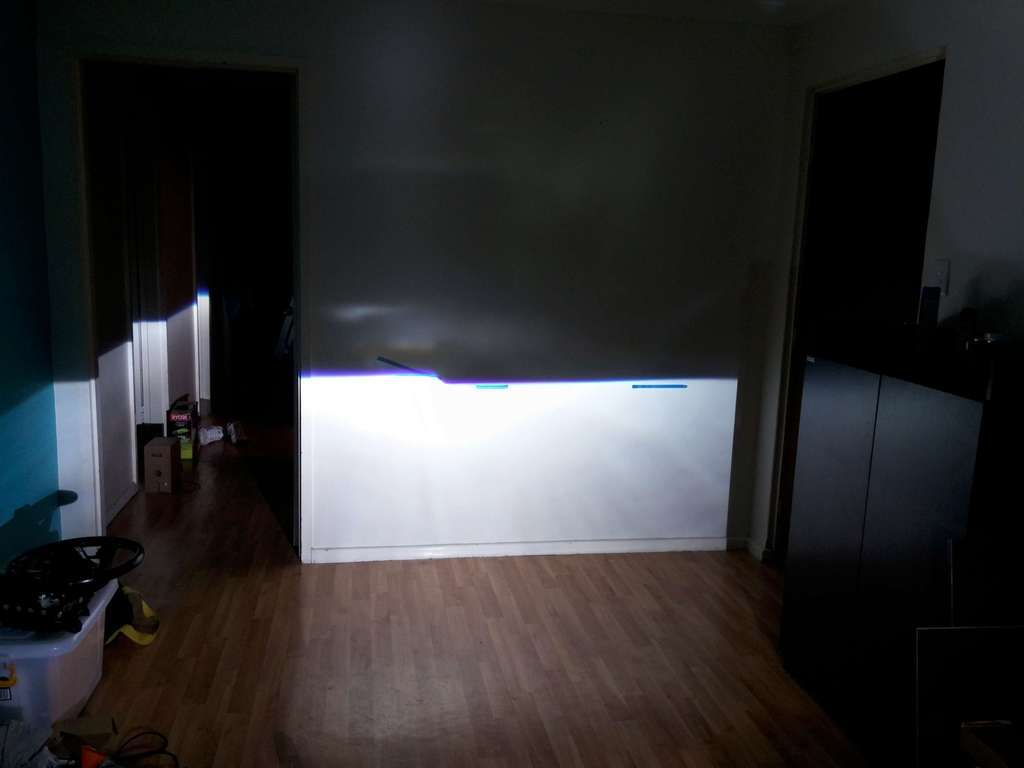
I think those pics speak for themselves
2015/08/04 17:30:36
Domma_aw11
that's awesome man good work, I did something similar many years ago on my adub, but no that quality!! well done
2015/08/06 02:50:47
tiff_lee
Cheers mate,  not made any real progress as still waiting on the replacement rear led ring and i've decided to paint the shrouds black.
 
Here are the LED rings (the large one is being replaced as its too big)


When indicating the white rings will change to amber, only the front one is doing it in this picture as the rear white/amber one is yet to turn up
 

2015/08/06 20:51:11
just_ace
I like.
2015/08/29 01:44:39
tiff_lee
Ok so repainted the shrouds satin black as I wasn't totally convinced with the white although in retrospect the white would of been just as good.


Front and rear cob LED halo fitted

 
Normal 'sidelight' operation

 
Indicator mode

2015/08/30 21:11:00
tiff_lee

Yep these things are finally done and dusted thank feck what a pain in the a*** they have been.
Headlights re-assembled

a note for anyone else doing this and a mistake I won't make again is that when 'bonding' the projectors into the housing I ensured the light output cutoff line was in the same place as the original halogens, what I didn't take into account was this resulted in the projectors pointing off centre (downwards) so when it came to fit the shrouds with LED halos attached there was next to no give in them and I have to sand/remove a load of material from the bottom of the shroud.
So in short just ensure the projector is completely central and the higher cutoff point can be compensated for with the headlight adjustment.
Butyl strip to seal the headlights

used a little too much on one but its not like its going anywhere

The LED ring 'switchback' drivers were soldered into the removable part of the the indicator sidelight loom, turns out the reason my sidelights were not working was because the 'crystal clear' fittings were US spec and didn't have the holes although they do now.
Also good to see scotchlock bodgers are still out there

So that'll be why my indicators sucked

One of the corner lights appeared to be missing the correct fixing so naturally the previous owner just used whatever they could find on the floor smh

Another oversight I found was that when I initially checked for clearance in the headlight 'bucket' I didn't take into account the D2S bulb connector which is considerable, I removed some material from the bucket not just for clearance to fit it but to also allow movement when making adjustments.
I cut a portion from the bottom to allow the connector lead to go straight down, I could of rotated the connector 90 deg either way but would rather not put any stress on the D2S connector lugs as they are very very fragile and easily snap, I know.


I fed the cables through the headlight bay grommet and fitted the ballast and LED drivers on the inside part of the bay like so


I struggled to get a decent photo at all and the photos I have don't do them justice, they have come out rather blue (I really need to figure out how to use my DSLR)


Side lights

Hazard/indicator

Low beam

High beam

2015/08/31 07:52:26
5SGTE
Good work, these look awesome!
2015/08/31 17:11:43
just_ace
Good job.
2015/08/31 22:26:03
sprigs
Wow could you tell me where you got that Butyl Mastic strip?  I've been looking all over for it but can't find it here locally.
2015/08/31 22:30:37
tiff_lee
ebay mate, just search butyl strip there is plenty to choose from
12 - Powered by APG vNext Trial
© 2025 APG vNext Trial Version 5.5

Use My Existing Forum Account

Use My Social Media Account